The Green Stuff Banner Tutorial
Banners are always a focal point in any army, large surfaces that are the best places to show of painting skills. For this reason its not always the best option to use the precast ones provided, you cant have evey banner looking the same, its just not natural! For this reason, its about time we went our own way, make the banner yourself!
In this tutorial I will produce a nice raggedy banner to fit with my Black Guard Campaign army.
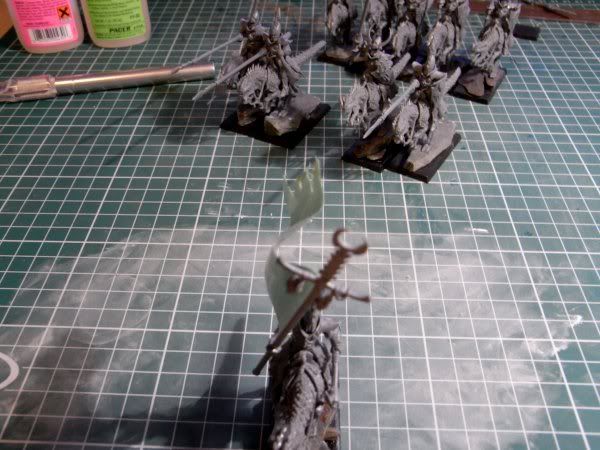
Planning is VERY important in this process, even more so with banners for fantasy models. First off I mocked up a paper banner, tacked it to the banner pole and then placed it in the unit. From this I can see the space I have to add ripples and curves caused by wind etc. You will need the mock up later on, so dont bin it.
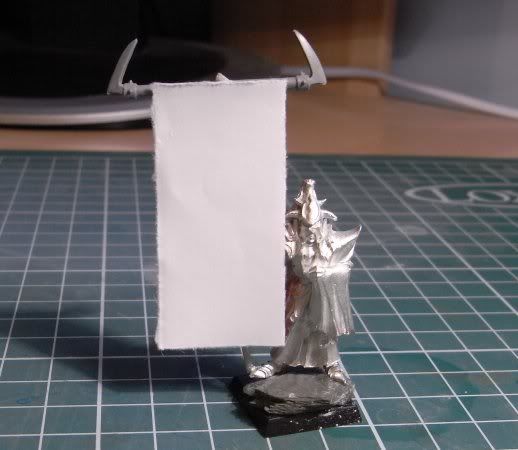
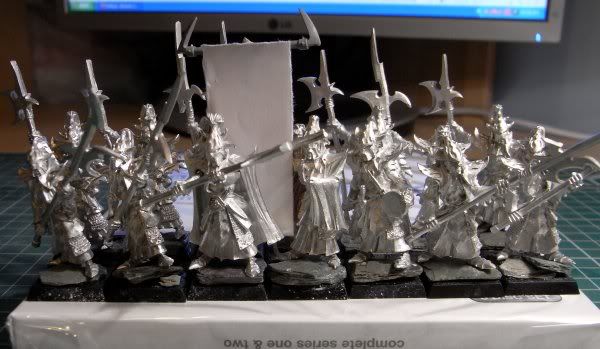
As you can guess with this being in the middle of a rank infantry unit, there is little space to play with, some examples later show what can be done with more space.
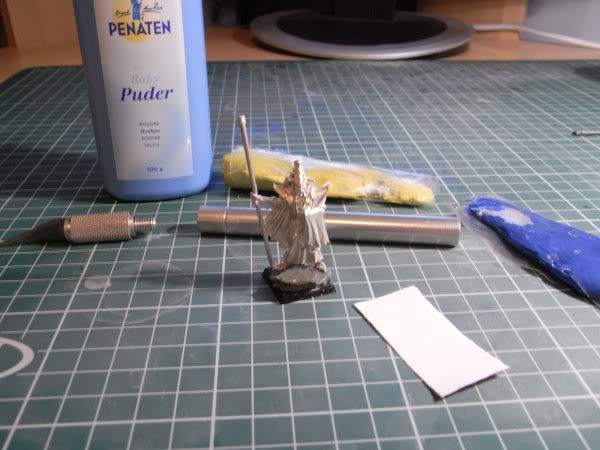
What will you need?
As you can see, I have used some Green Stuff (this was rather obvious), talc (any kind of old man drying talc will sufice), a 'rolling pin substitute' (I used my cutting knife handle) and a SMOOTH surface. The smooth surface is very important (I used the other side of my cutting matt) as if you roll the green stuff onto any lumps or bumps this will impair the final result. I also used a single pointed sculpting tool, a sharpe knife and a metal ruler before curing, after curing I used some ZAP super thin glue.
Lets get on with it.
OK, before mixing green stuff ensure the area for working is clean. Then apply the talc. Dont be afraid to cover the whole area in talc, the more the safer!
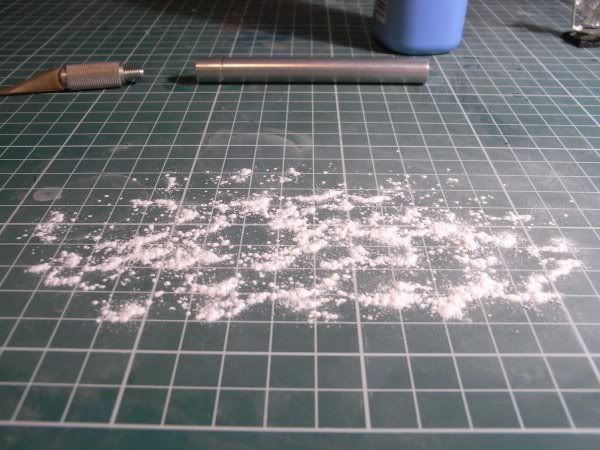
The talc stops the Greenstuff from sticking to it when you apply pressure.
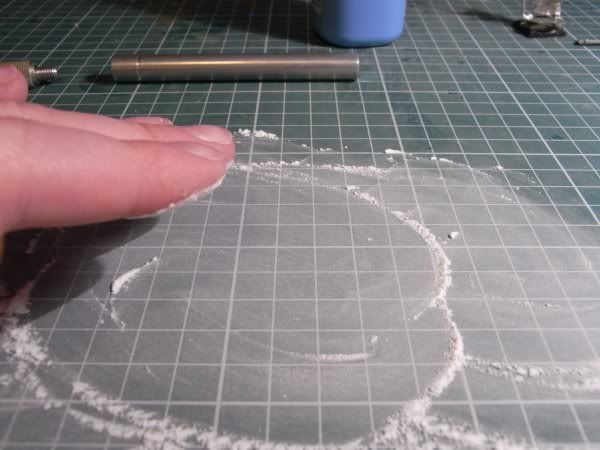
Rub the talc into the surface. It is critical that the greenstuff does not stick half way through, otherwise you will need to start again.
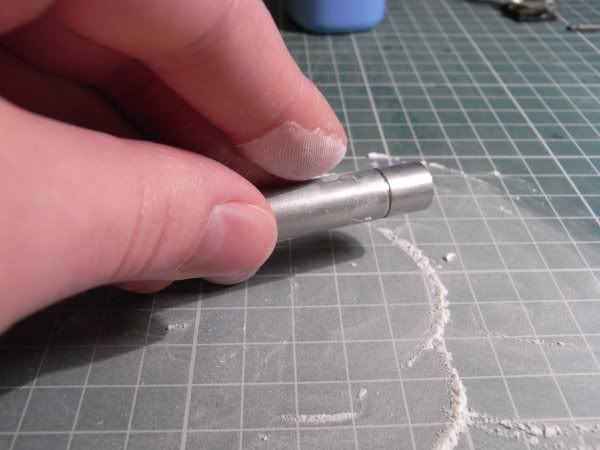
Dont forget to talc up the rolling pin. Just as important as the matt. its good to keep adding a bit of talc to the tool all the way through.
Mix the greenstuff and pop it into the middle of the talc zone and roll it around to pick up some talc. Then begin to roll out. You may need to apply a bit of pressure at first, but the thinner it gets the less pressure required, it can cause havoc!
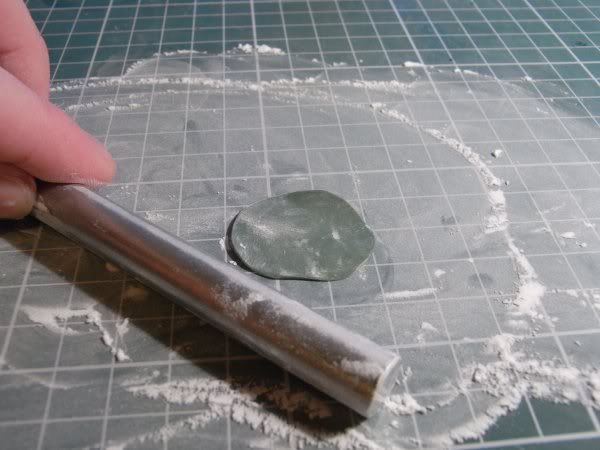
I find the best way of rolling this out is to keep turning and flipping the greenstuff, this way it is less likely to stick to the matt or the tool. Remember after each flip to rub a bit of talc into the piece.
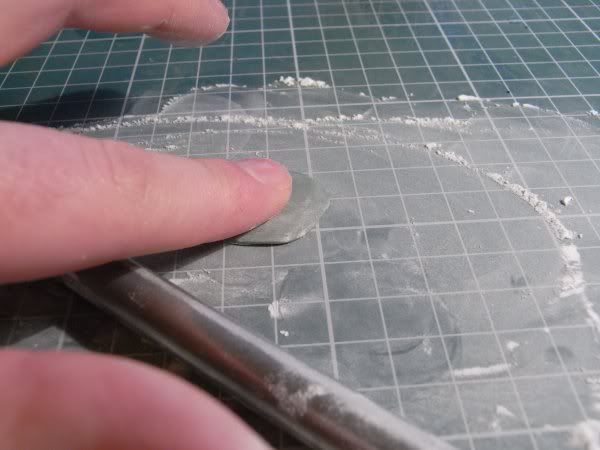
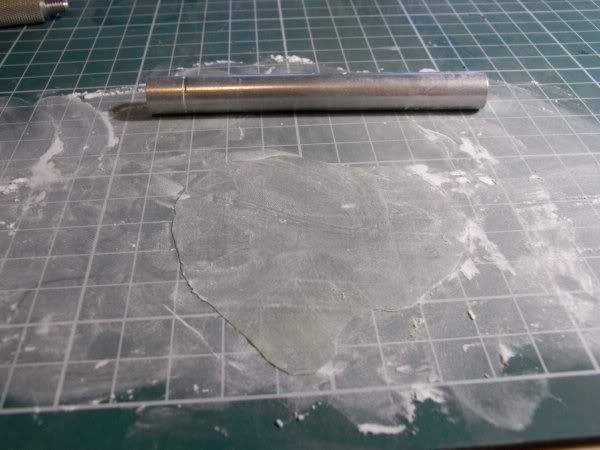
After a short while you will have a really thin piece of greenstuff. Its possible to get it that thin you can see through it! Paper thin is fine.
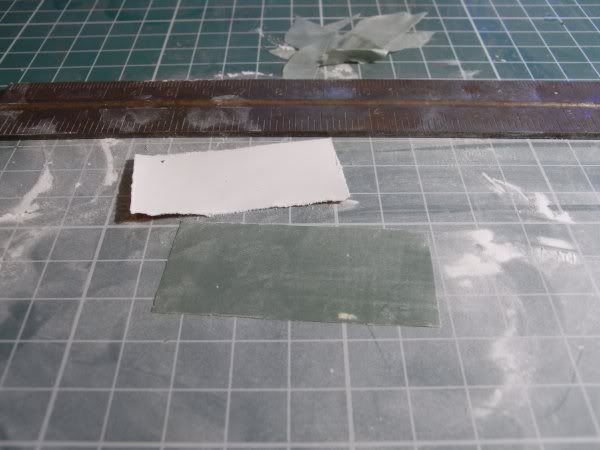
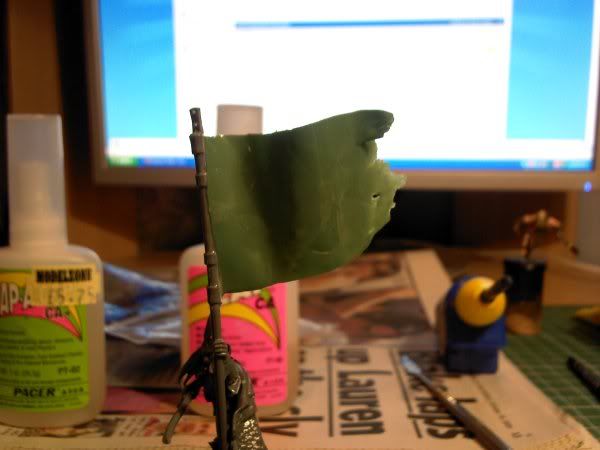
Roll out the mock up and compare to the green stuff sheet.
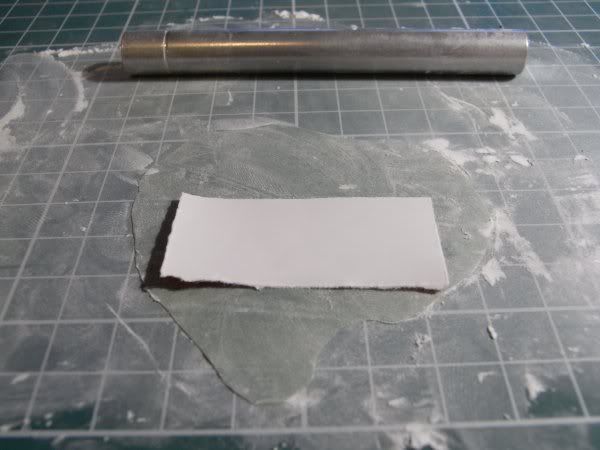
Then CAREFULLY(!!!!!) cut out.
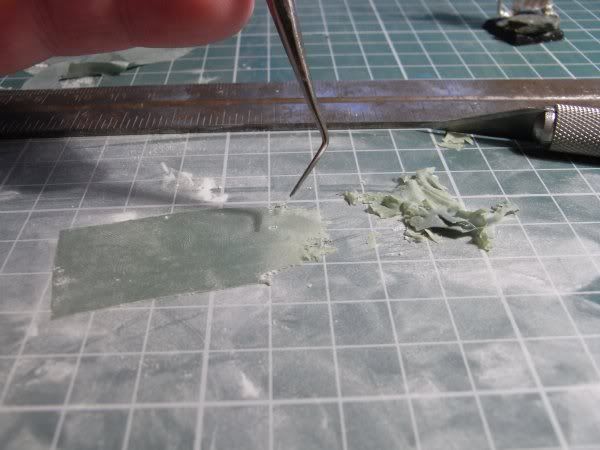
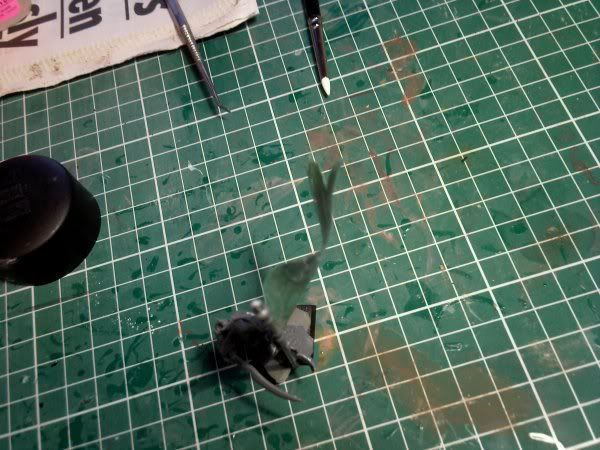
After this I made the banner raggedy. If you want a nice neat banner then ignore this bit. I mae the banner all ripped up by gentley teasing away chunks of the bottom of the banner. As the greenstuff hasnt cured yet it will stiff be soft and will stretch in places. If this looks like it may cause a problem, rub it with your finger an it will slowly go back into shape.
Once you are happy, leave the banner over night to cure properly
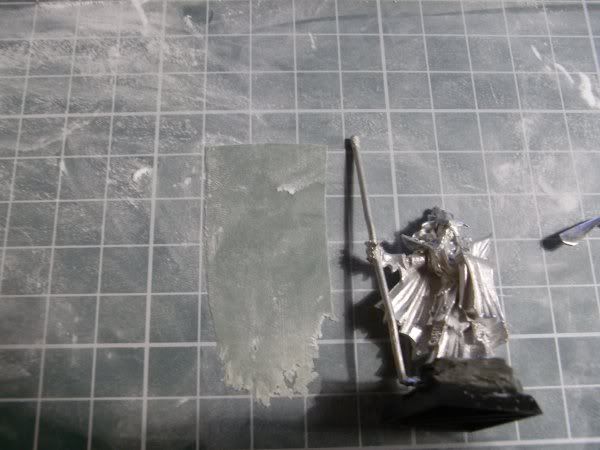
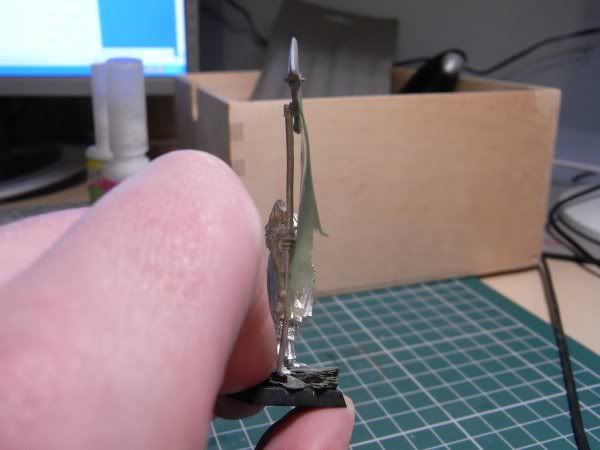
After this I simpley neatened the banner with a knife and stuck to the banner pole with a small amount of glue.
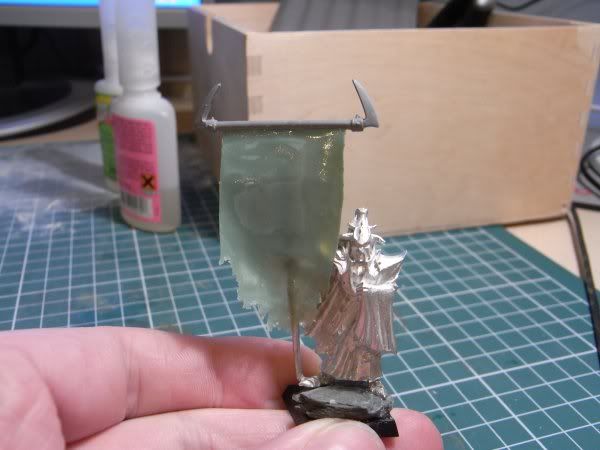
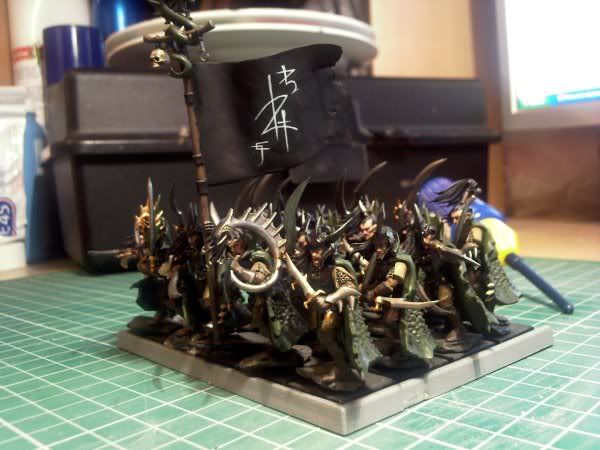
To add curves and waves to the banner I used the super thin super glue, this also gets rid of any small giner prints and other defects. I add a small amount at a time to a small strip, hold in position with fingers or tweasers (dont stick them to the banner!) then move onto the next section once dry. By doing this you can add subtle or dramatic curves and waves.
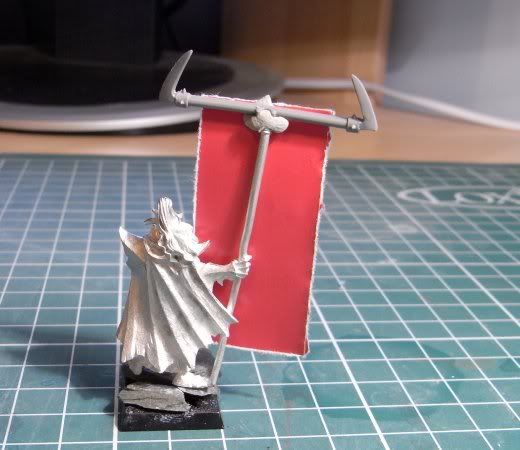
The final piece
Here are the other, more dramatic banners.
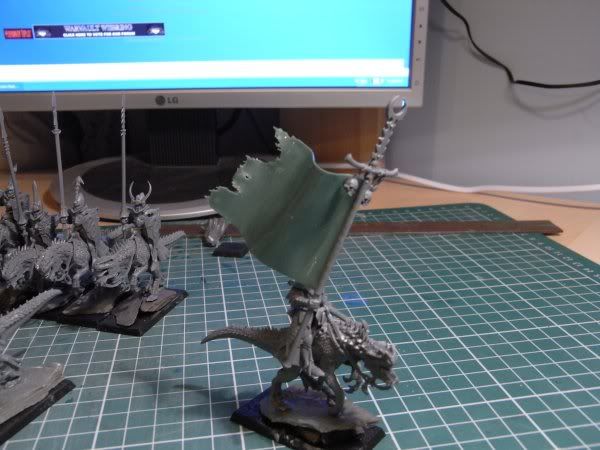
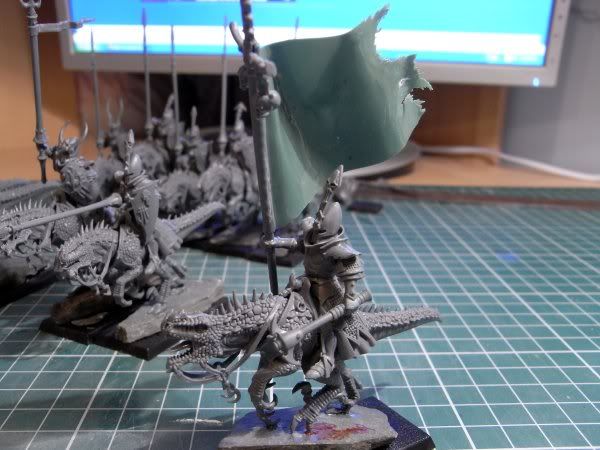
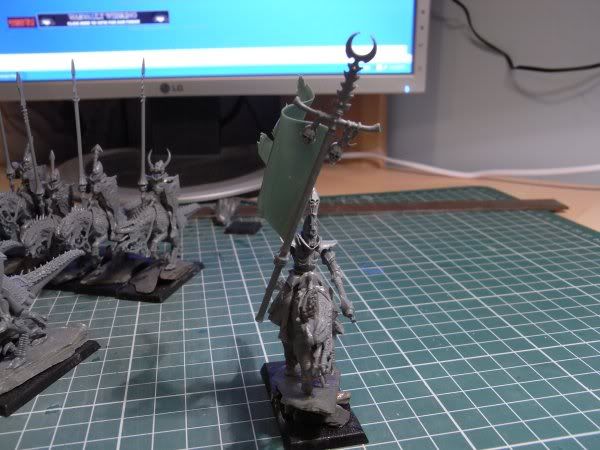
Enjoy!
Dan


Nice tutorial, I really like the ragged look. Banners have come a long way from using aluminum foil and toothpicks.
ReplyDeleteYep, I'm liking this tutorial. Thanks for sharing.
ReplyDeleteOne of the best banner Tutes I have seen.
ReplyDeleteI like this and will be borrowing the technique when I do the banners for my titan.
Nice one. Great tutorial. Thank you.
ReplyDeleteNice tutorial, thank you!
ReplyDelete